

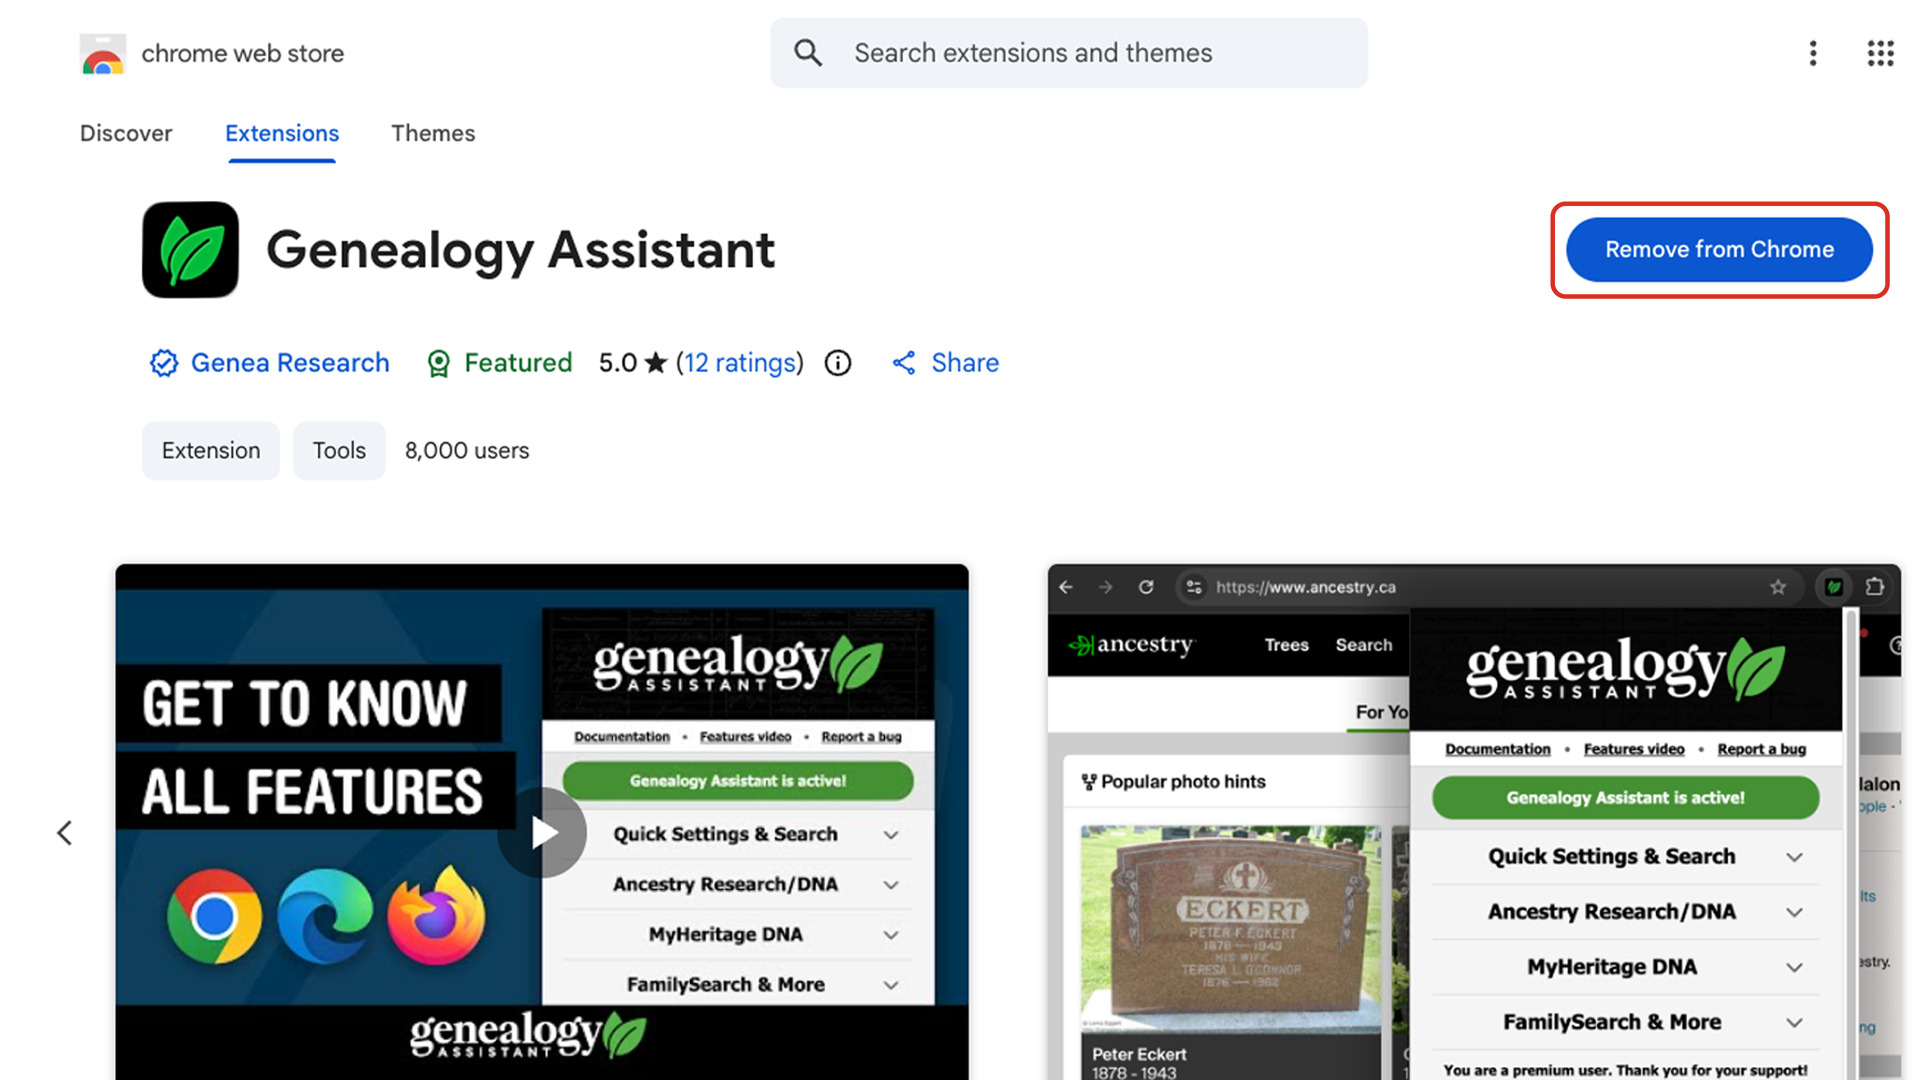
This guide removes Genealogy Assistant from your browser and installs it again. We may suggest it when something stops working and restarting the browser hasn’t helped. Removing it deletes your settings and saved data, so back them up first and restore them at the end.
Your trial or plan is not affected. It belongs to your email address, not to the extension in your browser. Once Genealogy Assistant is back, you log in again with the same address. Restoring a backup never changes your account either.
How do I back up my settings and data?
- Click the Genealogy Assistant icon in your browser’s toolbar to open the pop-up panel.
- At the bottom of the pop-up panel, click Edit advanced settings. Advanced Settings opens in the pop-up panel.
- Click Backup & Restore to open the section.
- Under Export your settings and data, click Export Settings & Data. A file named genealogy-assistant-backup followed by today’s date is saved to your downloads folder.
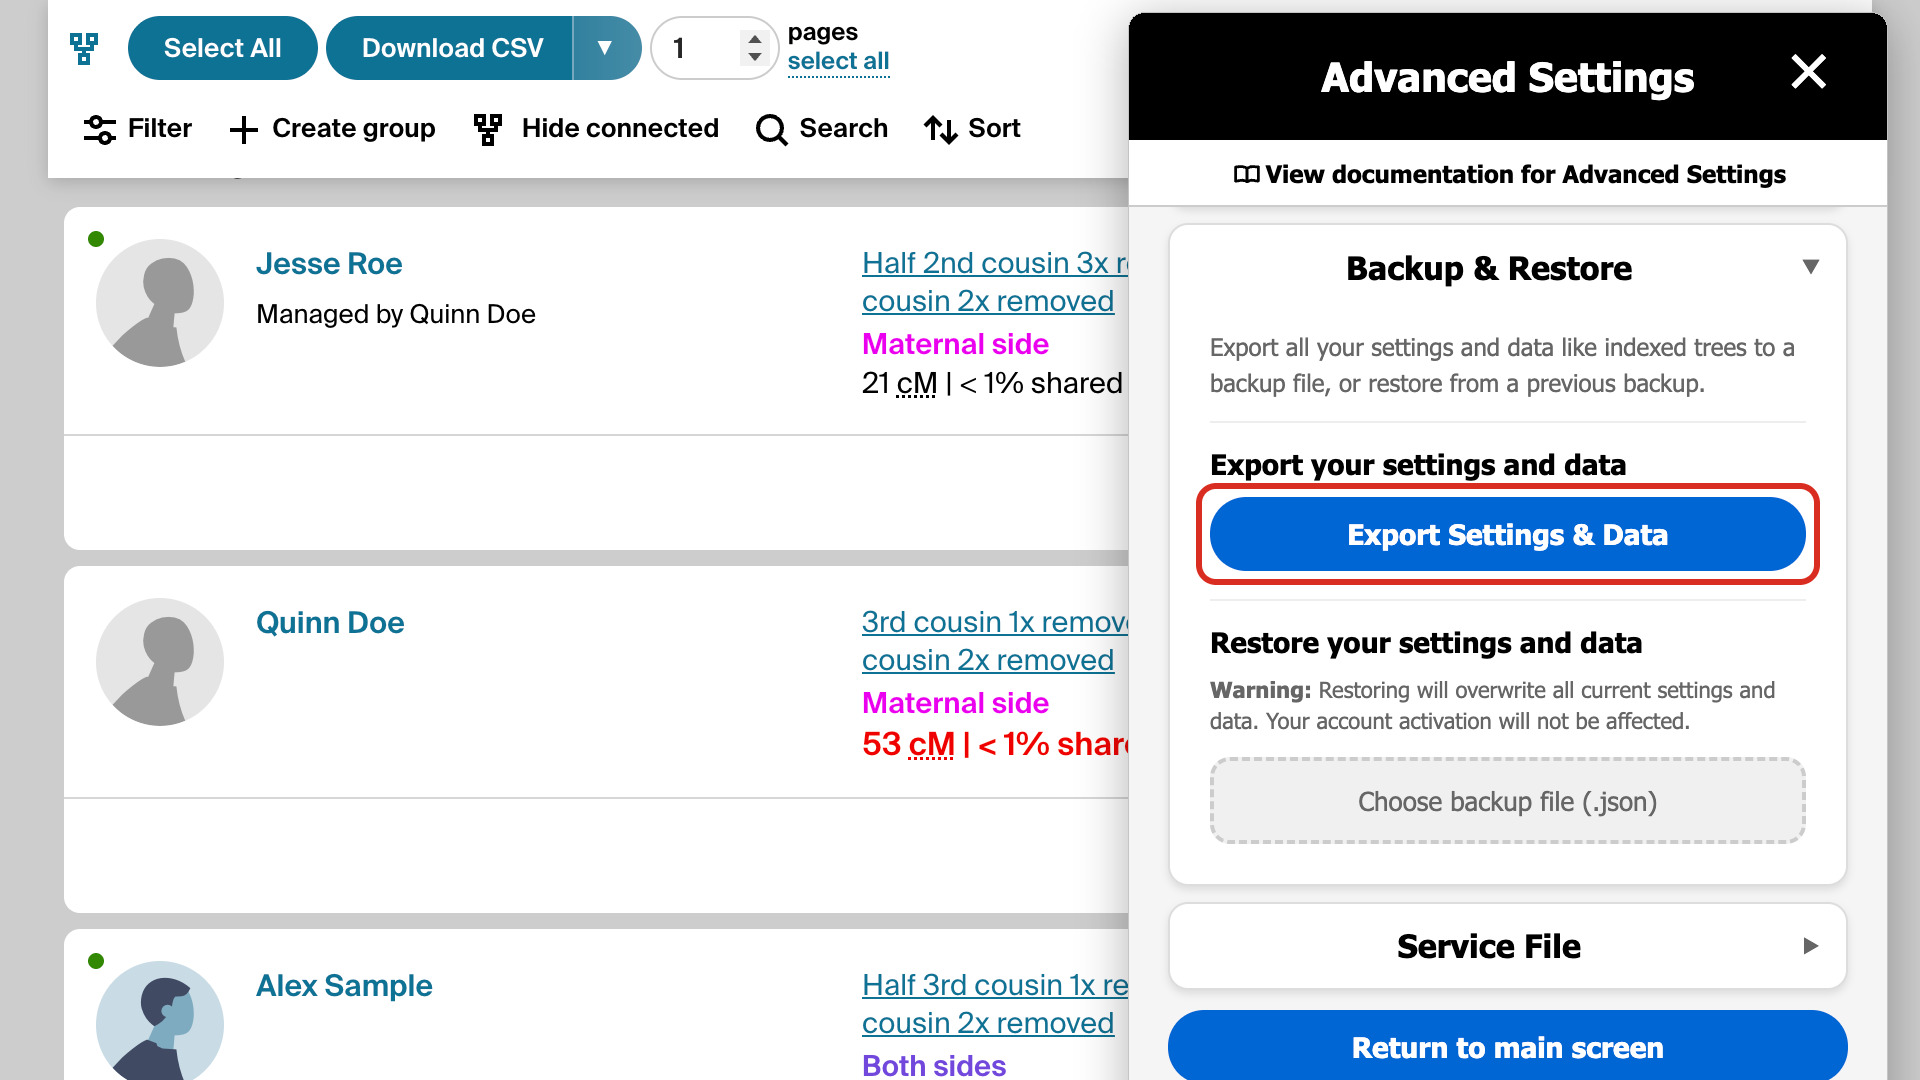
The backup holds every setting and everything Genealogy Assistant has saved in this browser. That includes your groups and the family trees you have added to Quick Search. Keep the file until you have restored it, because removing the extension cannot be undone.
How do I remove it and add it again?
- Open the store page for your browser:
- On the Chrome Web Store page, click Remove from Chrome.
- Click Remove in the box that asks you to confirm. Genealogy Assistant and its toolbar icon disappear, and the button on the store page changes back to Add to Chrome.
- Click Add to Chrome.
- Click Add extension in the box that asks you to confirm. Genealogy Assistant installs and opens its page on genea.ca in a new tab.
- Pin the Genealogy Assistant icon to the toolbar, as shown in How to install Genealogy Assistant.
- Click the Genealogy Assistant icon. A window from ExtensionPay, our payment service, opens and asks for your email address.
- Do one of these:
- If you are still in your trial, type the email address you started it with and click Start Trial.
- If you have bought a plan, click Already paid? Log in and type the email address you paid with.
- Open the email from Genealogy Assistant and click the confirmation link in it. Genealogy Assistant is activated again.
The Firefox and Edge store pages work the same way. While Genealogy Assistant is installed, the page shows Remove where the install button usually is. Once it is removed, the install button comes back, ready to add it again.
How do I restore my settings and data?
- Click the Genealogy Assistant icon to open the pop-up panel.
- At the bottom of the pop-up panel, click Edit advanced settings.
- Click Backup & Restore to open the section.
- Under Restore your settings and data, click Choose backup file (.json). A window opens for choosing a file.
- Choose the backup file you saved, in your downloads folder, and click Open. A box asks Restore from backup?
- Click Restore. The settings and data in the file replace the current ones, and Advanced Settings shows Restore successful! and reloads.
Using Safari? The Safari version is a Mac app. To remove it, drag Genealogy Assistant from your Applications folder to the Trash. To add it back, follow Install Genealogy Assistant for Safari from the beginning. Backing up and restoring work the same way in Safari.